February 2013 Update
4 February 2013 Leave a comment
It’s been a tad too long since I last updated, I must try to get back in to the habit of blogging more regularly.
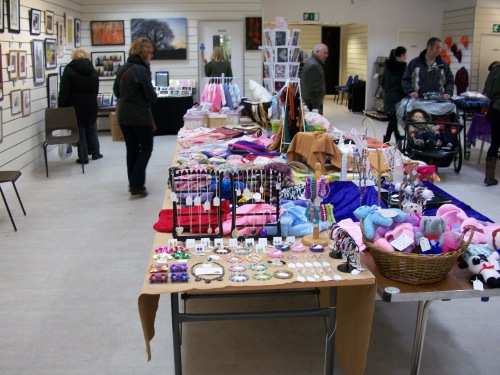
Christmas Event
So to catch up from where I last left off, the Winter Fayre I attended at the end of November was a wonderful success, it was packed and was busy the entire time.
Christmas Sales
The Christmas buying season online, was better than I had expected. I even tried out Folksy in the run up to the Christmas season to see whether that would be another possible venue through which to sell. Although I did get one sale through Folksy, I was quite disappointed by the visitor stats, as they were very low and not what I had expected. Whilst I expected views to be lower than Etsy (as Etsy is more widely known worldwide) than Folksy, I didn’t expect a lower amount of views than my own web site obtains. So I’m not currently impressed with Folksy, although it’s a venue I will keep my eye on as it is targeted towards the UK market, whereas in comparison Etsy is very US targeted.
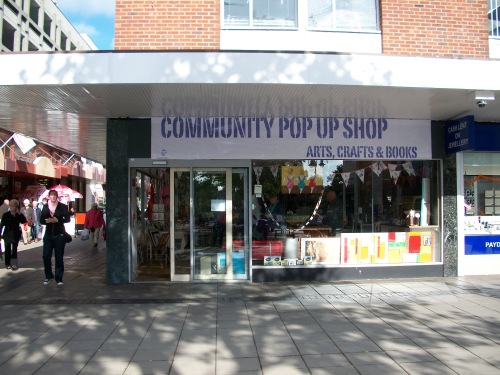
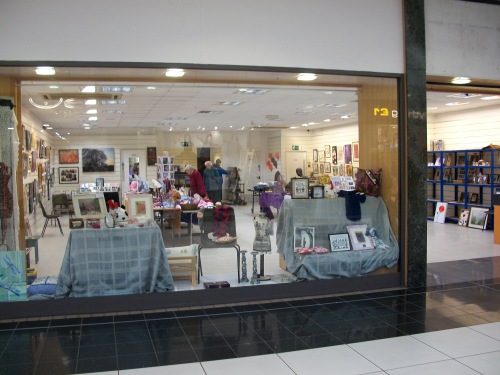
Community Pop Up Shop
The Community Pop Up Shop that I sell items through in Chelmsford town centre closed at the end of December. However, it has now reopened, yay! So my items have now been restocked there, plus it’s back in it’s original location.
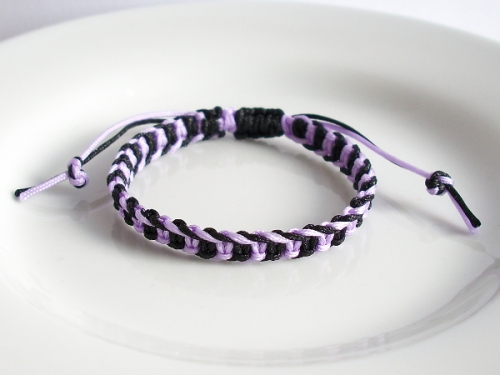
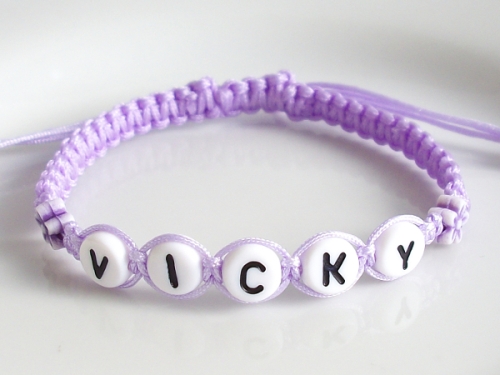
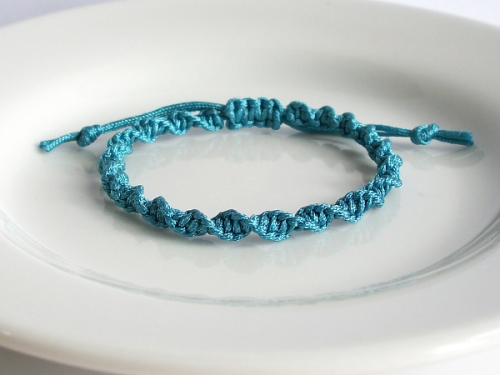
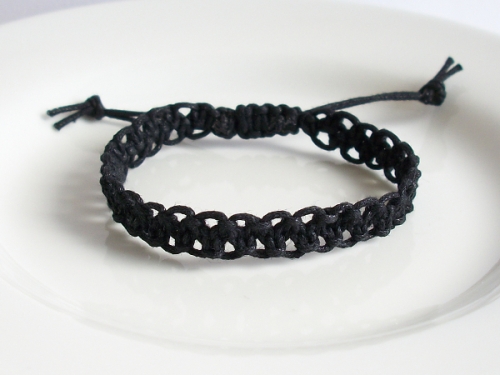
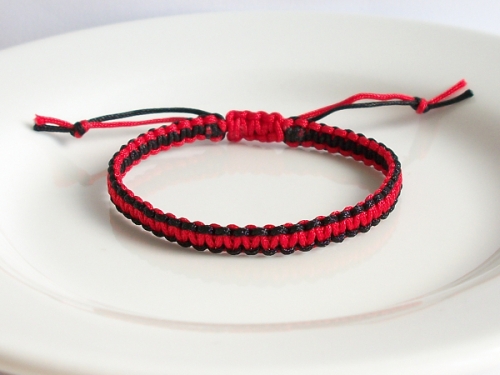
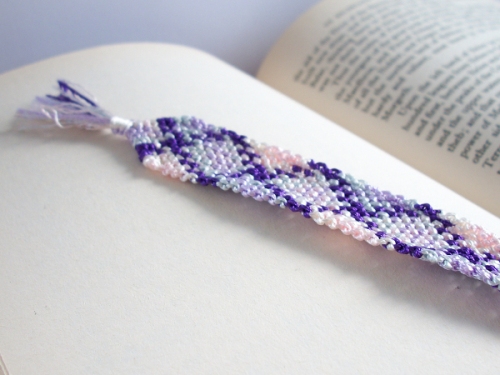
New Items
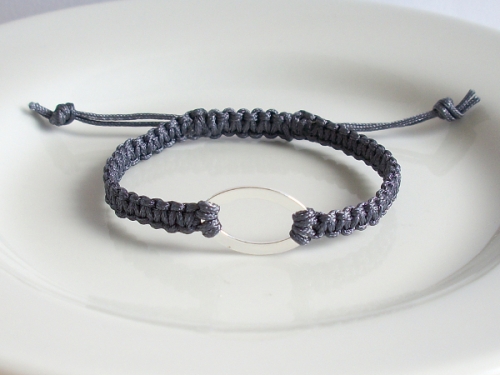
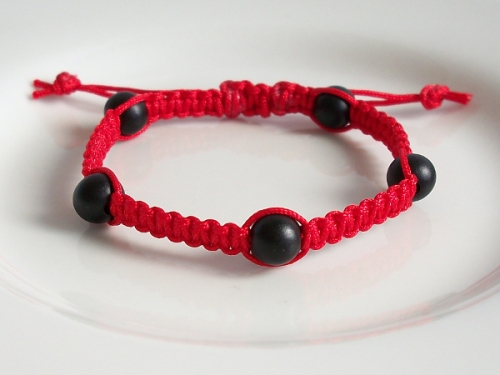
I have been adding a new range of items to my stores ~ macrame charm bracelets.

Custom Colour Crystal Bar Square Knot Macrame Bracelet

Custom Colour Crystal Sideways Cross Square Knot Macrame Bracelet
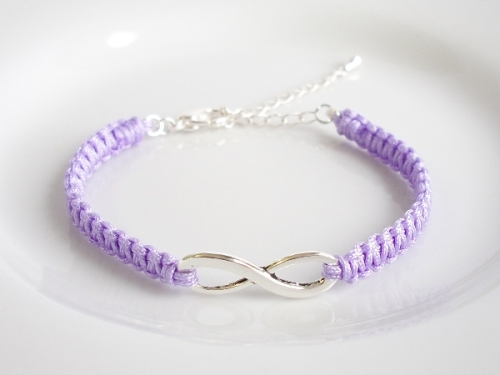
Custom Colour Silver Infinity Charm Square Knot Macrame Bracelet
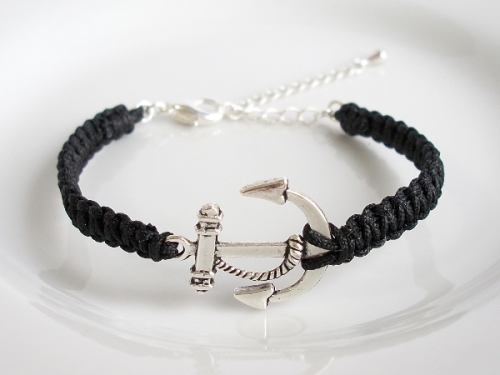
Custom Colour Silver Anchor Charm Square Knot Macrame Bracelet
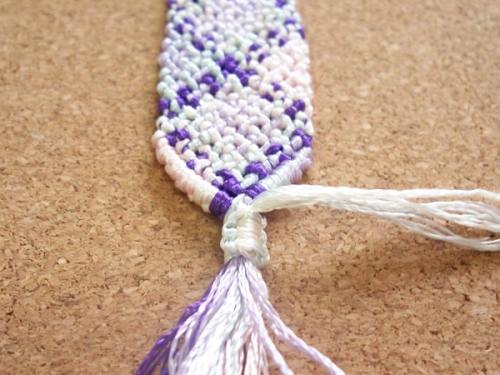
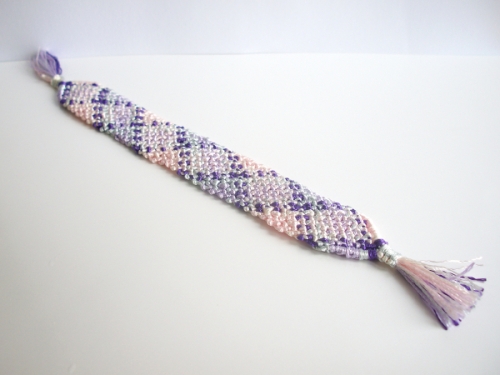
Plus, I’m working on adding a range of macrame tutorials as well. I have one listed so far, but more will follow.
PDF Tutorial Square Knot Macrame Bracelet Single & Two Colour With Adjustable Slider